
how to record midi in fl studio
Recording MIDI in FL Studio is an essential skill for music producers and composers alike. Whether you're crafting intricate melodies, creating drum patterns, or designing full orchestral pieces, MIDI offers unmatched flexibility and control. This guide will walk you through the steps to effectively set up your MIDI instruments and record them within FL Studio, so you can unleash your creativity and elevate your music production.
Getting Started: Setting Up MIDI in FL Studio
To begin recording MIDI in FL Studio, you first need to ensure your MIDI device is correctly connected. This could be a MIDI keyboard, controller, or any other MIDI-enabled instrument. Plug your device into your computer via USB and verify that your operating system recognizes it. Once connected, open FL Studio and navigate to the MIDI settings by going to "Options" and then "MIDI Settings." Here, you will find a list of available MIDI devices, where you should enable your connected device by selecting it and clicking the "Enable" button.
After enabling your MIDI device, it’s important to set up the input port. Each MIDI device is assigned a specific input port number, which FL Studio uses to manage incoming MIDI signals. You can assign this port number in the MIDI Settings window. Ensure that your device is set to the same port number in its own settings, allowing seamless communication between your MIDI controller and FL Studio. This setup will ensure that your MIDI notes are correctly detected and recorded during your session.
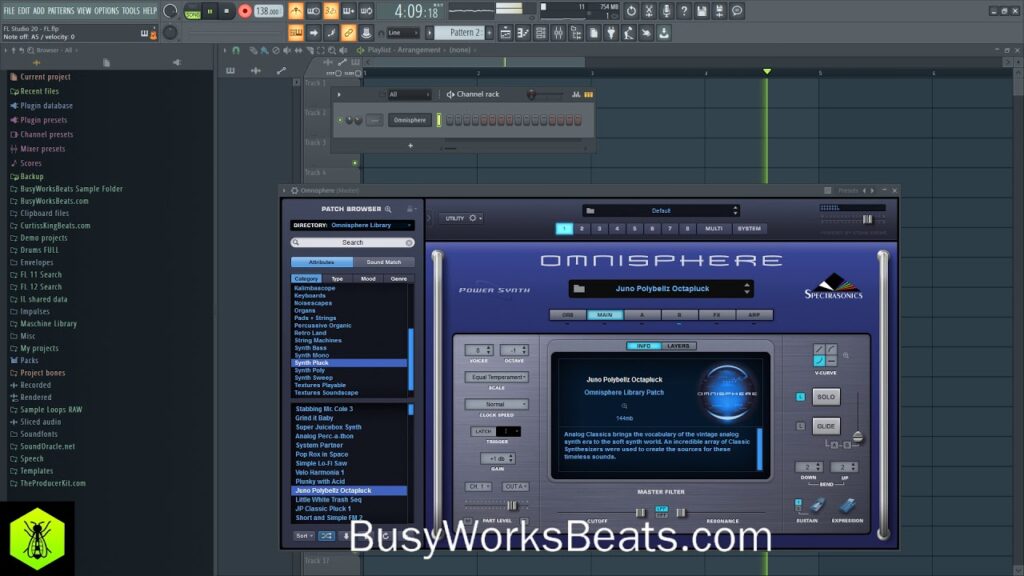
Next, select a virtual instrument to work with. FL Studio provides a range of built-in plugins like Sytrus, Harmless, or the FL Keys piano. To add an instrument, navigate to the Channel Rack, click on the "+" button, and select your desired plugin. Once added, you will be able to play and record using your MIDI controller in real time. With everything set up, you are now ready to create your MIDI tracks.
Step-by-Step Guide to Recording MIDI Tracks Effectively
With your MIDI device and virtual instrument ready, it’s time to record your first MIDI track. Start by opening an empty project in FL Studio. Click on the "Record" button located in the transport panel at the top of the screen. Ensure that the “MIDI” option is activated within the recording options. You can also select whether you want to record audio or automation at this stage, but for now, stick with MIDI.
Once you hit “Record,” you will be prompted with a countdown. This gives you a moment to prepare before the recording starts. As the countdown finishes, begin playing your MIDI controller to capture your performance. It’s important to maintain a steady tempo, especially if you are aiming for a polished sound. If you make mistakes, don’t worry; FL Studio allows you to edit MIDI notes after recording, making it easy to refine your performance.
After finishing your recording, your MIDI notes will appear in the Piano Roll of the selected instrument. You can access the Piano Roll by right-clicking on the channel in the Channel Rack and selecting “Piano Roll.” Here, you can edit the notes, adjust their lengths, change velocities, and even add effects. The editing capabilities of the Piano Roll provide a powerful way to perfect your MIDI track, allowing you to utilize quantization and other tools to align your notes rhythmically. This flexibility makes it easy to create complex compositions and fine-tune your music.
Recording MIDI in FL Studio opens up a world of creative possibilities for music production. By following the steps outlined in this guide, you can effectively set up your MIDI devices and capture your musical ideas with ease. With practice and experimentation, you'll find that the combination of FL Studio's powerful features and your creativity can lead to remarkable compositions. So grab your MIDI controller, start experimenting, and let your musical journey begin!
Leave a Reply